
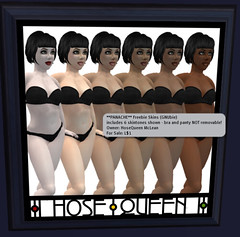
One of the tell-tale signs that someone is a newbie in Second Life is their skin and their hair. The default skins, while serviceable, are low quality and almost all of the long-time SL users upgrade to user-created skins. Hair is a similar case.
My just-rezzed look is better than most, because I went through the CSI:NY avatar creation system (more on that tomorrow). However, even it isn't perfect, so it is off to solve all problems.
I attended an NCI (New Citizens I...?) class during one of my first days in Second Life and they did a show on avatar personalization. Their advice was to start first with a shape, then get a skin, hair, and finally new clothes.
I did a bit of fashion-blog shopping to see if I could find an avatar I wanted to adopt and I found
one. The face shape was awesome (I naturally have an oval face), the body seemed proportional, and the makeup was not overwhelming. And so, armed with the links that the site provided, I set off to acquire all parts of that avatar and make them mine.
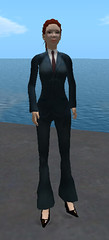
A side note, check out the rest of the site for other completely-from-free-or-dollarbies avatars. Ignore the clothing, because after all, we are going to
dress like the professionals we are, but look at face shapes and skin realism. Perhaps you can find the upgrade you are looking for on that blog, which will save you a lot of time guessing and checking.
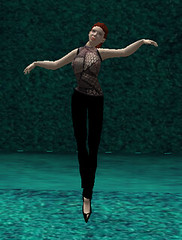
Another problem I hope to solve along the way is the fact that under my crocheted top, some hints of pink are showing. This is due to the fact that the default skin from CSI:NY has those naughty-bits. Newbie skins created through Linden Lab do
not suffer from the same problem. However, one thing to keep in mind is that skins you are going to pick up later along the way
may come complete with photorealistic naughty-bits. This is because artists wish to be truthful to their medium ... or something.
ShapeFollowing the directions given to me by the NCI class, I first went out to acquire my new shape. I was excited about getting a new shape, since I felt that my default shape was a bit forehead-heavy (though otherwise functional).

I headed over to
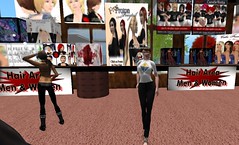
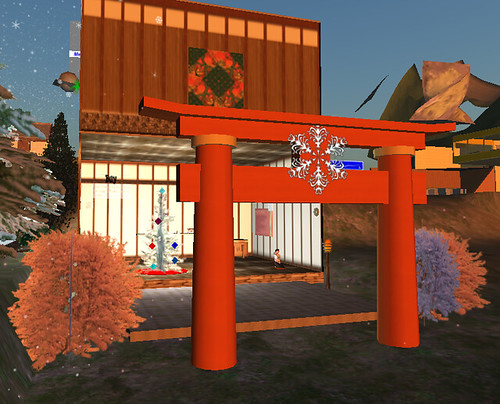
Style Your Destiny where many surprises were in store for me. For one, they have a garbage can that encourages you to go dumpster diving. If you do so, you get a sweet freebie. I scored a necklace pack, which is great because I was just thinking that I didn't have any jewelry, and with my hair in a ponytail, I needed something to frame my face.

Another surprise was the freebie-pack that was located on the outside of the store, across from the talking garbage can. It contained, amongst other things, a free pair of panties. Yay, the starts of my underwear collection!
I also noticed that Style Your Life was one of the few places in Second Life that I've encountered that acknowledges Hanukkah. You cannot know how happy this makes me. Truly happy. (^_^)

I head up the stairs and turn to my right where I find a vendor located next to another freebie package. This vendor does not announce prices, nor do I see anything that says Eve, but wouldn't you know that as I click through the selection on the vendor, there Eve is! And I can buy her for the
1 L$ that was advertised on the
FabFree blog.

I neglect to pick up the eyes that
FabFree used because my default eyes seem natural enough to me (I'm bright-green eyed in person) so I figure that I'll use these for now. I may yet return to pick up those eyes at a later date.
I also noticed that for your male avatars, they have 1 L$ shapes as well. Remember, you are receiving a shape, and not the skin, so if your skin is as pale white as mine (indicating that you, like myself, need to get offline and out into that vitamin-D inducing sunshine), these shapes, coupled with the right skins, will make you look like yourself, only more in shape.
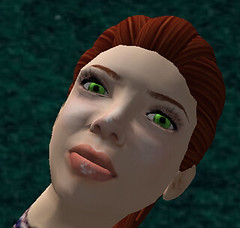
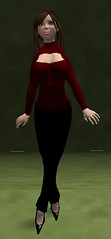
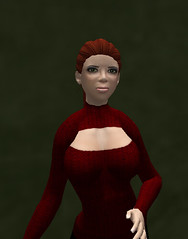
Here I am wearing the Eve shape. The first thing I noticed was that my chest problem has grown. I'm also shorter, and my forehead isn't as forehead-dy. This shape came with its own set of eyes, so I took a closeup picture of myself modeling the eyes. Extreme closeup.
-----
Tune in next time for the second installment:
Skin!Labels: tutorial

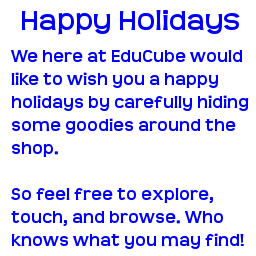
 This is a great marketing tool. It is much better than just having an available freebie at my shop and hoping that people stumble in to it. This way, people encounter Mini Santa wherever I go and if they chose to click him, they get a freebie and (and this is why freebies are handed out in SL) a landmark and a notecard encouraging them to drop by my store to see what else they might like.


