Lesson 7: Using The Gimp to Reduce Your Wreath's Prim Counts (Part 1)

Step 1: The Necessary Tools
In order to follow these instructions, you are going to need a very specific tool set. You will need (in no particular order):
- The Gimp image editor
- 10 L$
- Your snapshot of your wreath.
Getting The Gimp
In order to get The Gimp, please point your web browser (your real one, not the dinky one they give you inside of Second Life) over to - http://www.gimp.org (or just do a Google search for “The Gimp” and take the first link).

There, you will see a screen like this one. Click on the “Download” button and download, and install The Gimp. It is free and works on Windows, Linux, and Mac OS everything.
Why did I pick The Gimp? For one, because it is free, and runs on all operating systems, which means that if you can read this tutorial, you can use it. For a second, because creating a transparent texture is super-easy in The Gimp.
Getting 10 L$
The easiest way to get 10 L$ is to convert some real money to L$. Failing that, you can always use the techniques written here. Or, for those of you reading this tutorial in-world on my rather awesome book: http://tinyurl.com/39xw2v
Step 2: Cropping Your Image to the Wreath
Open up The Gimp. To go File > Open and select your snapshot that is located somewhere on your hard drive (you do remember where you save your snapshots, right?). This should load your snapshot in a new window.
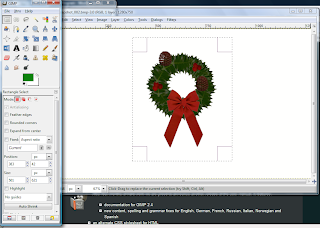
Click back over to your main Gimp window and select the square selection tool (the upper left-hand button). Then return to your snapshot and draw a square around your wreath. Don't worry, we'll make this tighter later. For now, you are just getting rid of excess blank white space.
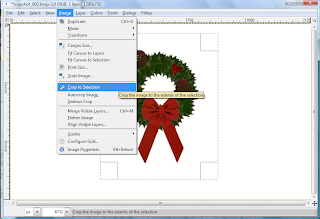
Now, on your image window, click on Image > Crop to Selection to crop your snapshot down to just the selection. As I said before, we aren't worrying about being perfect at this stage, since we have a later cleanup stage yet to go.
Step 3: Turning the White into Transparent
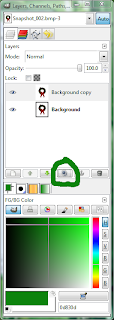 We are now going to use your third Gimp window, the one with the layers. On that window, please click on the "Copy Layer" button. It is two to the left of the trash can button (or you can just look at which button is circled on the image.
This will give you a new layer (those things listed above the buttons) called Background Copy. This is good.
Now click on the "Background" layer (the one on the bottom) and then click on the Trash can button. We cannot do transparent on the "Background" layer, but we can on the "Background Copy" layer, which is all that we should be left with.
Back over to the main Gimp window now. You are going to chose the "Select By Color" tool, which looks like a finger pointing to a red square with a blue and green square also available. It is the top row, fifth from the left.
Once that has been selected, click over to our snapshot window where you are going to click on the white. Where? Anywhere, so long as it is white. This will result in a lot of select-dashes appearing all over your image. Are they outlining all of the white? Good!
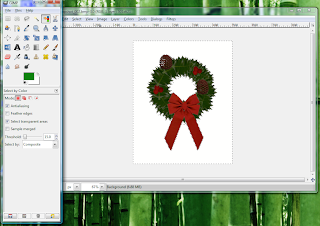
Now, and this is the hard part, you are going to press the [Delete] key. If, for some reason you mess up at this or any other stage (though this is the stage where you will notice a mess-up) you can always press [Ctrl] + [Z] and go back a step. Your image should now have a checkerboard background (which is how The Gimp indicates transparency):
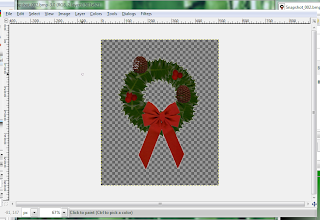
Step 4: Getting Rid of the Empty Space
Still on the image window, go to Select > Select None to get rid of your selection-dashes. Then head over to Image > Autocrop Image which will tighten your image down to just the bare minimum. We like this.
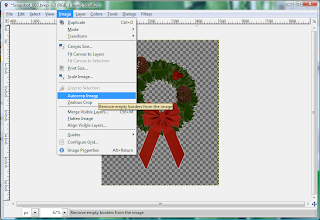
You should now have a much tighter image.
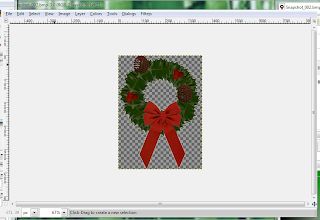
Continue on to Step 5.
Labels: tutorial


for this post
Leave a Reply